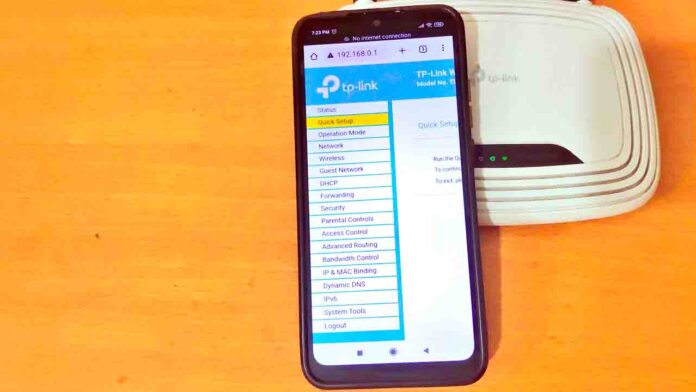
TP-Link Router Setup And Configuration
Setting up a TP-Link router is now easier than ever, thanks to the convenience of mobile browsers. Gone are the days of needing a desktop computer to configure your internet connection. This guide will walk you through the entire process from A to Z, ensuring you get your TP-Link router up and running using just your mobile device.
Step 1: Unbox and Connect Your Router
The first step is straightforward. Unpack your TP-Link router and connect it to a power source. Ensure that the modem is also connected to the router’s WAN port using an Ethernet cable. Once everything is plugged in, turn on both the modem and the router to continue your tp-link router setup
Step 2: Connect to Your Router’s Network
On your mobile device, open the Wi-Fi settings and connect to your TP-Link router’s default network. This network name and password are often found on a label at the bottom or side of the router.
Step 3: Access the TP-Link Router’s Configuration Page
Open your preferred mobile browser and enter the router’s default IP address in the address bar. The common IP address for TP-Link routers is 192.168.0.1 or tplinkwifi.net. If neither works, check the router’s manual for the correct address.
Step 4: Log in to the Router’s Interface
For Old Version Router Firmware:
Upon entering the IP address, you’ll be prompted for a username and password. The default credentials are usually “admin” for both fields. If these don’t work, refer to the router’s manual for the correct login information.
For New Version Router Firmware:
Create login password. For security, please create a login password for management. TP-Link router recommends that your password meets the following conditions.
Step 5: Run the Quick Setup Wizard
Most TP-Link routers offer a Quick Setup Wizard. This user-friendly interface will guide you through the essential settings. You’ll need to select the region, time zone, and type of internet connection (which can be obtained from your ISP). Follow the on-screen instructions to complete the basic setup.
- Choose operation mode: wireless router. Then click on the next button to continue your tp-link router setup.
- Choose wan connection type: Dynamic IP, Static IP, PPPoE, L2TP, PPTP (you can ask your internet service provider about your internet connection and the required details). I am choosing PPPoE. Then click the next button to continue your TP-Link router setup.
- Please enter your PPPoE username and password given by your internet service provider. First type your PPPoE username. Then, type your PPPoE password. Confirm your PPPoE password. Then click the next button to continue the TP-Link router setup.
Step 6: Set Up Wi-Fi Settings
After configuring the internet connection, it’s time to set up your Wi-Fi network. Choose a name (SSID) for your network and a strong password. It’s advisable to select WPA2-PSK as the security option for better protection.
Set a password to secure your wireless network. Enter the password you have chosen in the box next to the password. Wireless or Wi-Fi passwords must contain at least 8 characters. Then click the next button to continue your TP-Link router setup.
Step 7: Update the TP-Link Router’s Firmware
Keeping your router’s firmware updated is crucial for security and performance. Check if there’s an update available and install it. This option is usually found in the ‘System Tools’ or ‘Administration’ section of the router settings.
Step 8: TP-Link Router Configure Advanced Settings (Optional)
If you’re tech-savvy, you might want to explore the advanced settings. Here, you can set up parental controls, guest networks, and QoS (Quality of Service) to prioritize certain types of traffic.
Step 9: Save and Reboot
After making all the necessary changes, save the settings. The router may reboot to apply the new configurations.
Step 10: Test Your Connection
Once the router restarts, reconnect your device to the newly set up Wi-Fi network. Test the connection by browsing the internet or streaming a video.
Setting up a TP-Link router using a mobile browser is a simple and convenient process. By following these steps, you can ensure a smooth and hassle-free installation. Remember, maintaining the security of your network is crucial, so always keep your firmware updated and use strong passwords.
FAQs:
01. What if I can’t access the router’s configuration page?
- Ensure your device is connected to the router’s network and you’re entering the correct IP address.
02. How do I reset my TP-Link router if I encounter issues?
- Most routers have a reset button. Press and hold it for about 10 seconds to restore factory settings.
03. Can I set up my TP-Link router without a computer?
- Yes, as this guide demonstrates, a mobile device is sufficient for the setup process.

