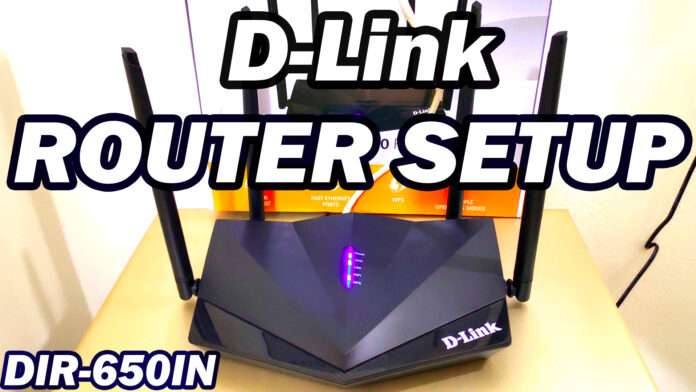
In today’s fast-paced world, a stable and high-speed internet connection is essential for both work and leisure. If you’ve just purchased a D-Link DIR-650IN Wireless Router or are planning to, you’re on the right track to enhance your home network experience. This step-by-step guide will walk you through the process of setting up your router and securing your network. By the end of this article, you’ll be enjoying a seamless and secure internet connection.
Before You Begin
Before diving into the setup process, make sure you have the following items ready:
- D-Link DIR-650IN Wireless Router.
- A computer or mobile device with Wi-Fi capability.
- Ethernet cable.
- A stable internet connection from your Internet Service Provider (ISP).
- A power source for the router.
Step 1: Unbox and Connect:
- Carefully unbox your D-Link DIR-650IN Wireless Router and locate the included accessories, which typically consist of the router itself, an Ethernet cable, and a power adapter.
- Place the router in a central location within your home, preferably in an open area away from walls and obstructions for optimal signal strength.
- Connect one end of the Ethernet cable to the WAN (Internet) port on the back of the router and the other end to your modem provided by your ISP.
- Plug in the power adapter and connect it to the router. Then, plug the adapter into a power outlet.
- Power on the router by pressing the power button (if available) or simply plugging it in.
Step 2: Access the Router’s Interface:
To configure your D-Link router, you’ll need to access its web-based interface. Here’s how:
- On your computer or mobile device, connect to the router’s default Wi-Fi network. The default Wi-Fi network name (SSID) and password can be found on a sticker on the router.
- Open a web browser and enter the default router IP address in the address bar. Typically, this is “192.168.0.1” or “192.168.1.1.” Press Enter.
- You will be prompted to log in. Use the default username and password, which can also be found on the router’s sticker. It’s essential to change these credentials later for security reasons.
Step 3: Configure Basic Settings:
Once you’re logged in, you’ll have access to the router’s settings. Here are some essential configurations:
- Change the default router login credentials to enhance security. Look for the option to change the admin username and password in the router settings.
- Set a unique Wi-Fi network name (SSID) and a strong password for your wireless network. This information will be used to connect your devices to the Wi-Fi network.
- Choose the appropriate wireless security protocol. WPA3 is the latest and most secure option, but if your devices don’t support it, use WPA2.
Step 4: Advanced Settings (Optional):
Depending on your needs, you may want to explore advanced settings like port forwarding, Quality of Service (QoS), or setting up a guest network. These options can enhance your router’s functionality but should be configured carefully.
Step 5: Save and Reboot:
After configuring your settings, don’t forget to save your changes. This is usually done by clicking on a “Save” or “Apply” button in the router’s web interface.
Finally, reboot your router to ensure that all changes take effect. You can do this from the router’s web interface or by unplugging and plugging it back in.
Congratulations! You’ve successfully set up your D-Link DIR-650IN Wireless Router. You should now have a secure and reliable Wi-Fi network to enjoy seamless internet connectivity throughout your home. Remember to periodically check for firmware updates to keep your router up to date with the latest security patches and features.

