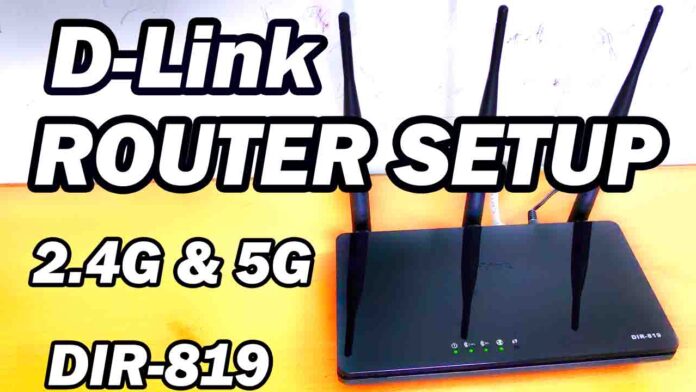
Setting up a new router can be a daunting task, but with the right guidance, it can be a breeze. The D-Link DIR-819 AC750 Dual Band Router is a popular choice for its reliability and performance. In this comprehensive guide, we will walk you through the process of setting it up from start to finish.
What You Need
Before starting, ensure you have the following items:
- D-Link DIR-819 Router.
- Ethernet cable.
- Power adapter for the router.
- A computer or a smartphone.
Step-by-Step D-Link Router Setup Process
01. Unboxing and Connecting Your Router
First, unbox your D-Link DIR-819 Router. Place the router in an optimal location, ideally in a central area of your home or office for the best signal distribution. Connect the power adapter to the router and plug it into a power outlet.
02. Connecting to Your Modem
Use the Ethernet cable to connect your router to your modem. Plug one end of the cable into the modem and the other into the WAN port on your router.
03. Powering On and Initial Configuration
Turn on your router and wait for it to boot up. This may take a few minutes. Once the LED indicators stabilize, your router is ready for configuration.
04. Accessing the Router’s Web Interface
On your computer or smartphone, connect to the router’s network. Initially, you can connect using the default Wi-Fi details provided on the router’s label.
Open a web browser and enter the router’s IP address, typically 192.168.0.1, into the address bar. This will take you to the login page of your router.
05. Logging into the Router
The default username is usually ‘admin,’ and the password field is often left blank. If this doesn’t work, check the router’s manual for the default login credentials.
06. Configure your Internet Connection
The router is detecting your internet connection type, please wait. If your internet service provider gives you a public IP or static IP address. Select the box, and use static IP address. Please type the IP address, subnet mask, gateway, and DNS servers given by your internet service provider.
If your ISP provides a PPPoE username and password. Then, select your connection type PPPoE. First type Your PPPoE username. Then type your PPPoE Password. Then click on next.
07. Setting Up Wi-Fi Networks
Once logged in, navigate to the wireless settings. Here, you can set up your Wi-Fi networks for both the 2.4GHz and 5GHz bands. It’s recommended to give them distinct names (SSIDs) and strong passwords.
08. Configuring Network Security
For security, ensure that WPA2 encryption is selected. This provides a good balance of compatibility and security for your wireless network.
09. Updating the Router’s Firmware
Check for firmware updates under the router’s settings. Updating the firmware ensures your router has the latest security patches and performance improvements.
10. Additional Settings (Optional)
Explore other settings like parental controls, guest network setup, and QoS (Quality of Service) if needed. These features offer more control over your network’s performance and security.
11. Finalizing the Setup
After configuring all the necessary settings, save your changes and reboot the router. This will apply to all your settings.
Conclusion:
Setting up your D-Link DIR-819 AC750 Dual Band Router is simple if you follow these steps. A properly set up router ensures a secure and efficient network, providing you with a seamless internet experience. Should you encounter any issues, refer to the router’s manual or contact D-Link support for assistance.
Remember, this guide is a general procedure and might slightly vary depending on the router’s firmware version or specific model variations. Always refer to the official documentation for the most accurate information.

