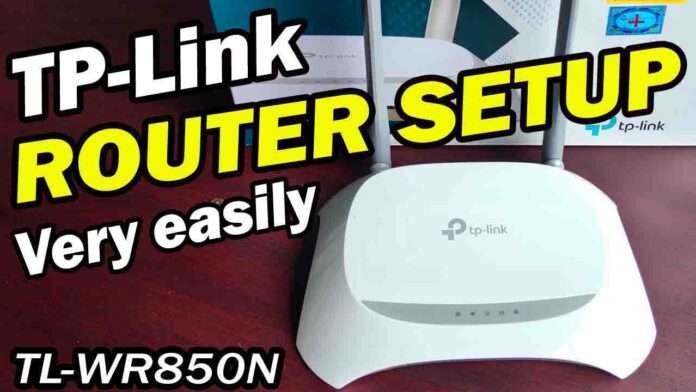
Are you excited to bring a new TP-Link TL-WR850N Router into your home network? Setting up a router may seem daunting, but fear not. In this step-by-step guide, we will walk you through the process of configuring your TP-Link TL-WR850N 300Mbps Wireless router for seamless internet connectivity. Let’s get started!
Step 1: Unboxing and Initial Setup:
Before diving into the technical details, let’s begin with the basics:
- Unbox your TP-Link TL-WR850N Router and ensure that you have all the necessary components, including the router itself, power adapter, Ethernet cable, and user manual.
- Place the router in a central location within your home, ideally elevated and away from walls or obstructions for optimal Wi-Fi coverage.
- Connect the provided power adapter to the router and plug it into a power outlet. Power on the router by pressing the power button, usually located on the back or side.
Step 2: Connecting to the Router:
Now that your router is powered on, let’s connect to it:
- On your computer or mobile device, navigate to your device’s Wi-Fi settings.
- Look for the available Wi-Fi networks. You should see a network with the default SSID (network name) of your TP-Link router. Connect to this network.
- Open a web browser (e.g., Chrome, Firefox, or Edge). You will be redirected to the router’s web-based setup page. If the page doesn’t open automatically, enter “http://192.168.0.1” or “tplinkwifi.net” in the browser’s address bar and press Enter.
Step 3: Logging Into the Router:
To configure your router, you’ll need to log in with the default credentials:
- (Old Version Firmware) On the login page, enter the default username and password. For most TP-Link routers, the default credentials are usually “admin” for both the username and password. Consult your router’s manual if these credentials don’t work.
- (New Version Firmware) To ensure the safety of your network, it is highly recommended that you set up a strong new password. Passwords may contain 1-15 (Case-sensitive) letters and numbers. Enter the new admin password. And Re-Enter the Confirm Password. Then click on Let’s Get Started
- After logging in, you will have access to the router’s control panel.
Step 4: Router Configuration:
Now that you’re logged in, let’s set up your TP-Link TL-WR850N Router:
- Click on the “Quick Setup” or “Setup Wizard” option, which will guide you through the initial configuration process.
- Follow the on-screen instructions to select your region, time zone, and internet connection type (usually DHCP for most home connections).
- Provide your ISP (Internet Service Provider) credentials if required.
- Set a strong and unique password for your router’s admin panel. This password is crucial for security purposes.
- Customize your wireless network settings, including your Wi-Fi network name (SSID) and password. Make sure to choose a strong Wi-Fi password to secure your network.
- Review your settings and confirm the changes.
Conclusion: Congratulations! You’ve successfully set up your TP-Link TL-WR850N Router. Your home network is now ready for all your internet-connected devices. Remember to keep your router’s firmware updated and periodically check your network security settings to ensure a safe and stable connection. Enjoy seamless internet browsing and streaming!

